BitBox01: Setup
Table of contents
- Download the BitBoxApp
- Launch the BitBoxApp
- Insert microSD card & plug in your BitBox01
- Follow the in-app setup wizard
Download the BitBoxApp
In order to set up your BitBox01 and create your first wallet you need to download the BitBoxApp for your computer or your Android smartphone (beta).
Launch the BitBoxApp
Once the download is finished, please install and launch the app.
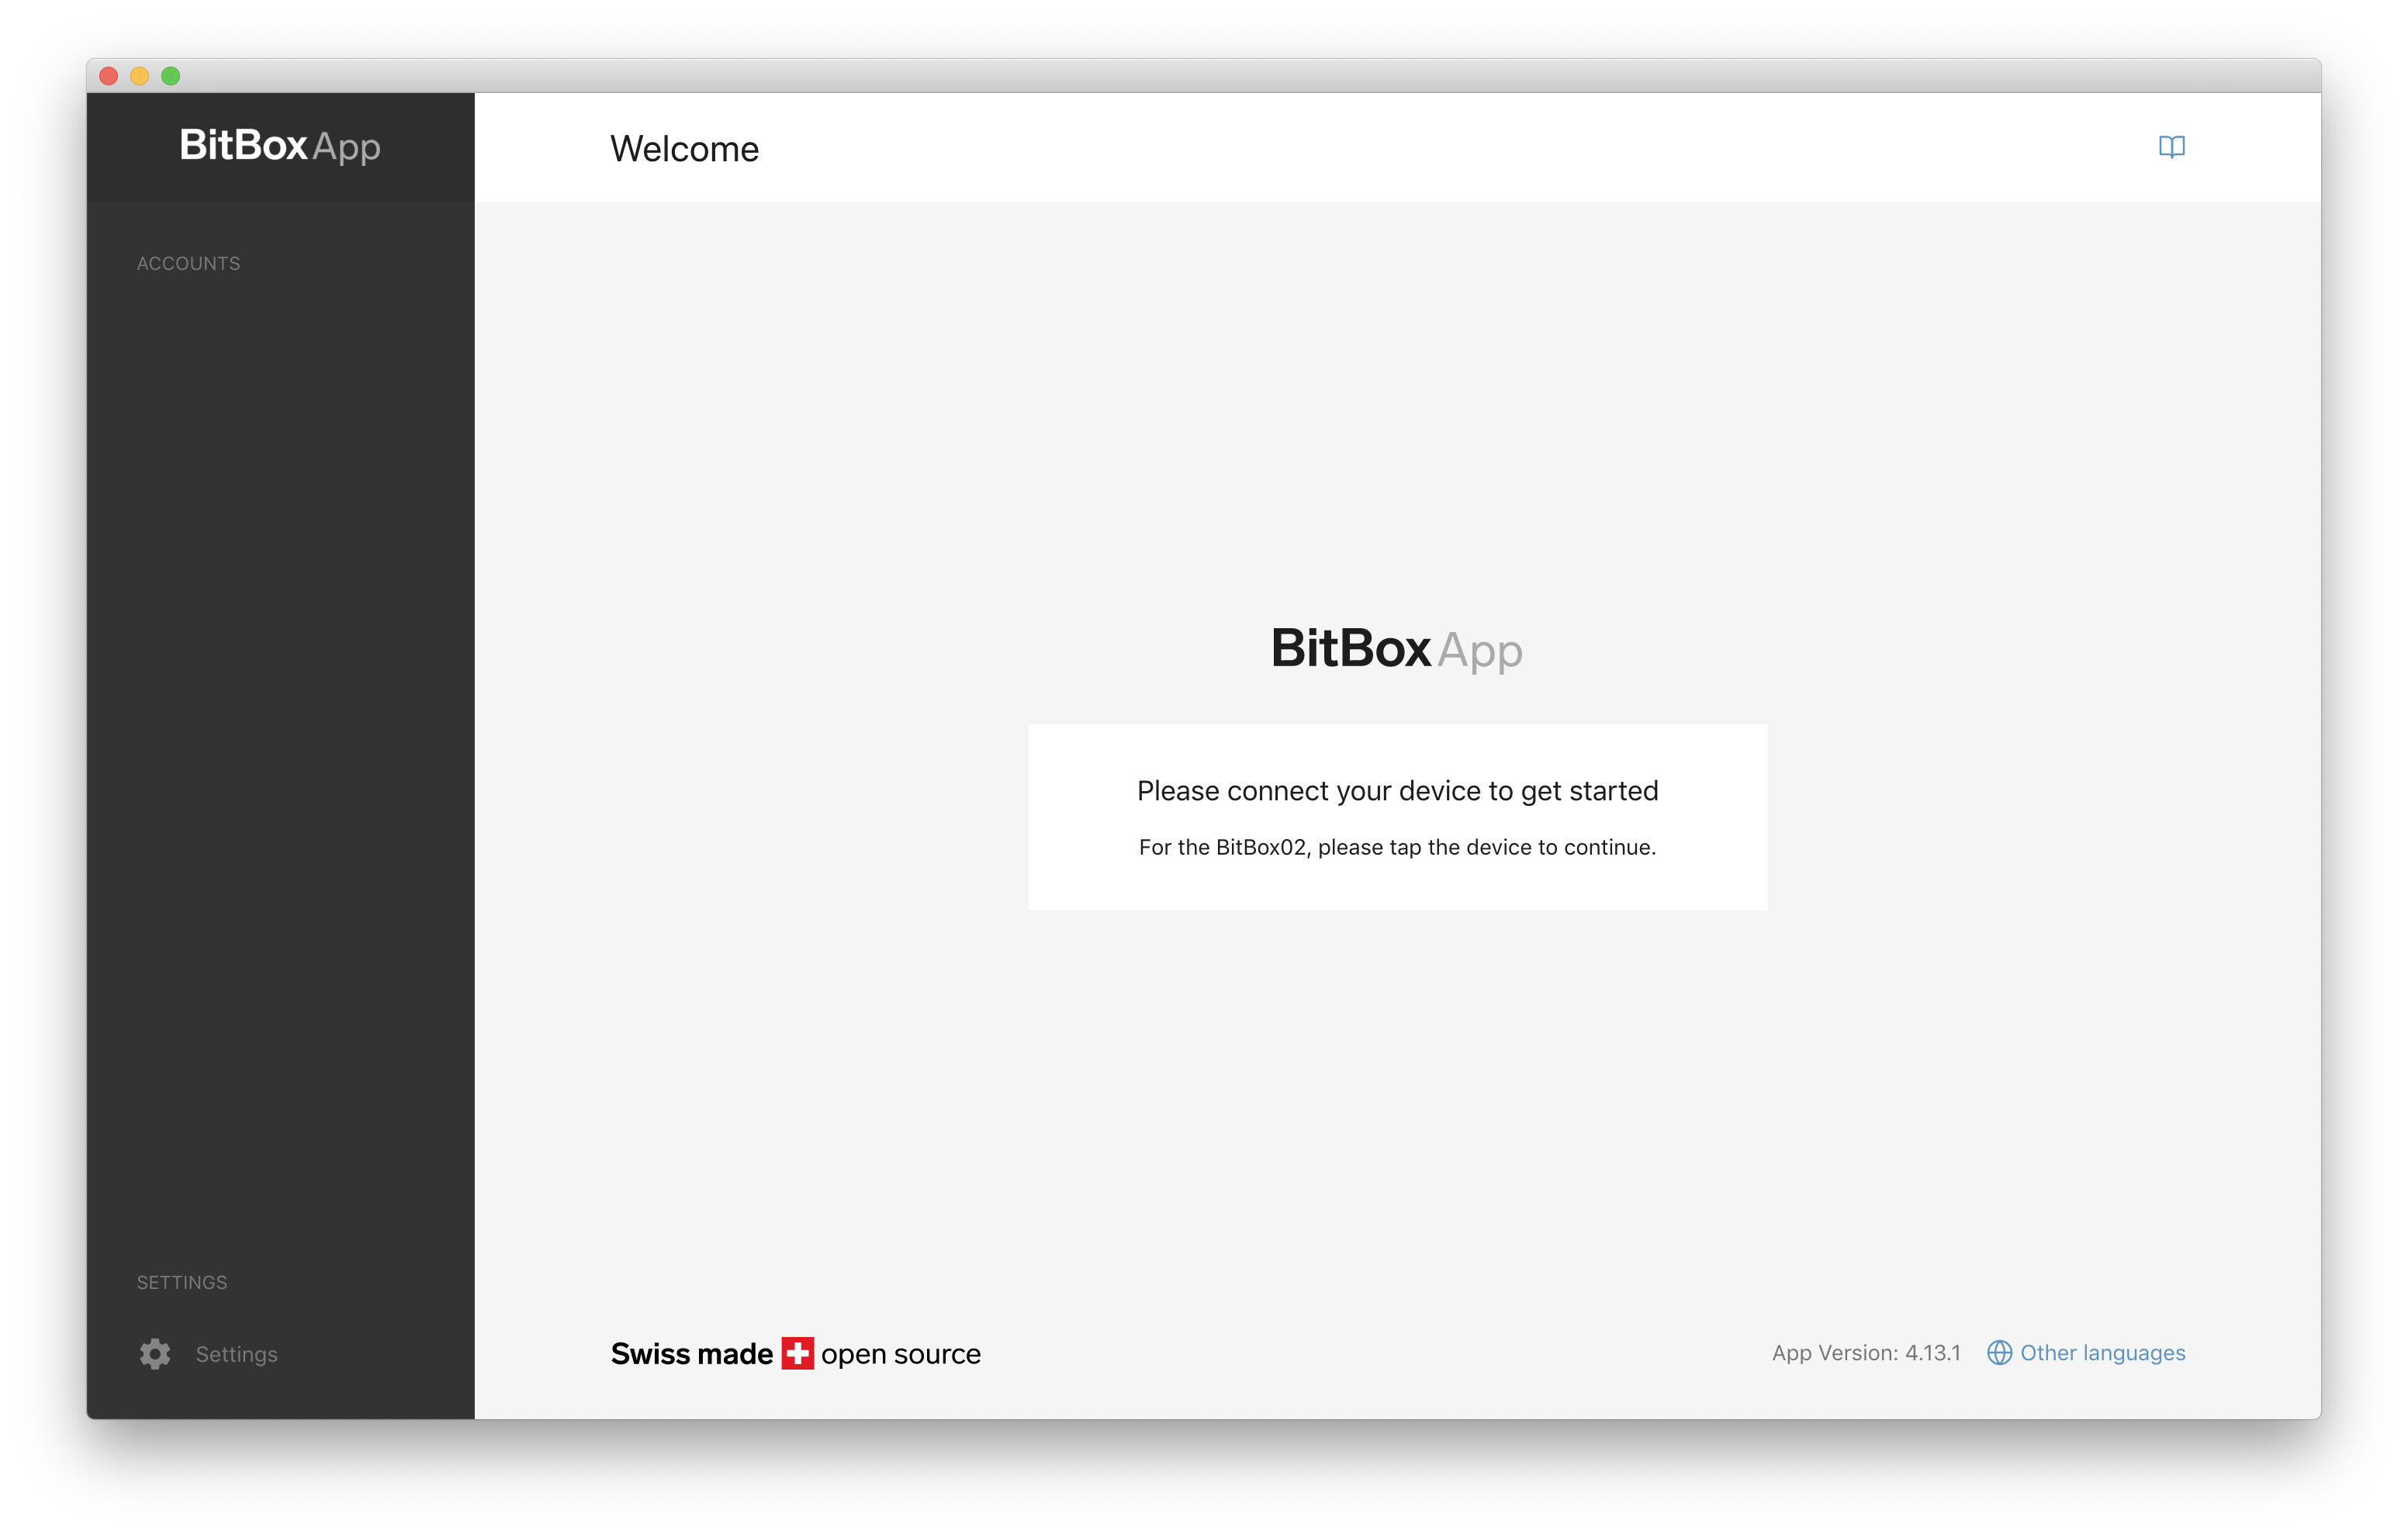
You should then see a screen that asks you to plug in your BitBox01.
Insert microSD card & plug in your BitBox01
Before you plug in your BitBox01, please insert the microSD card which will be needed to create a backup of your wallet in a later step.
When done, please plug the BitBox01 into your computer.
Follow the in-app setup wizard
Once the BitBox01 is plugged in, the setup-wizard will automatically start and guide you through the process of setting up your BitBox01.
Step 1: Create new wallet or restore an existing wallet
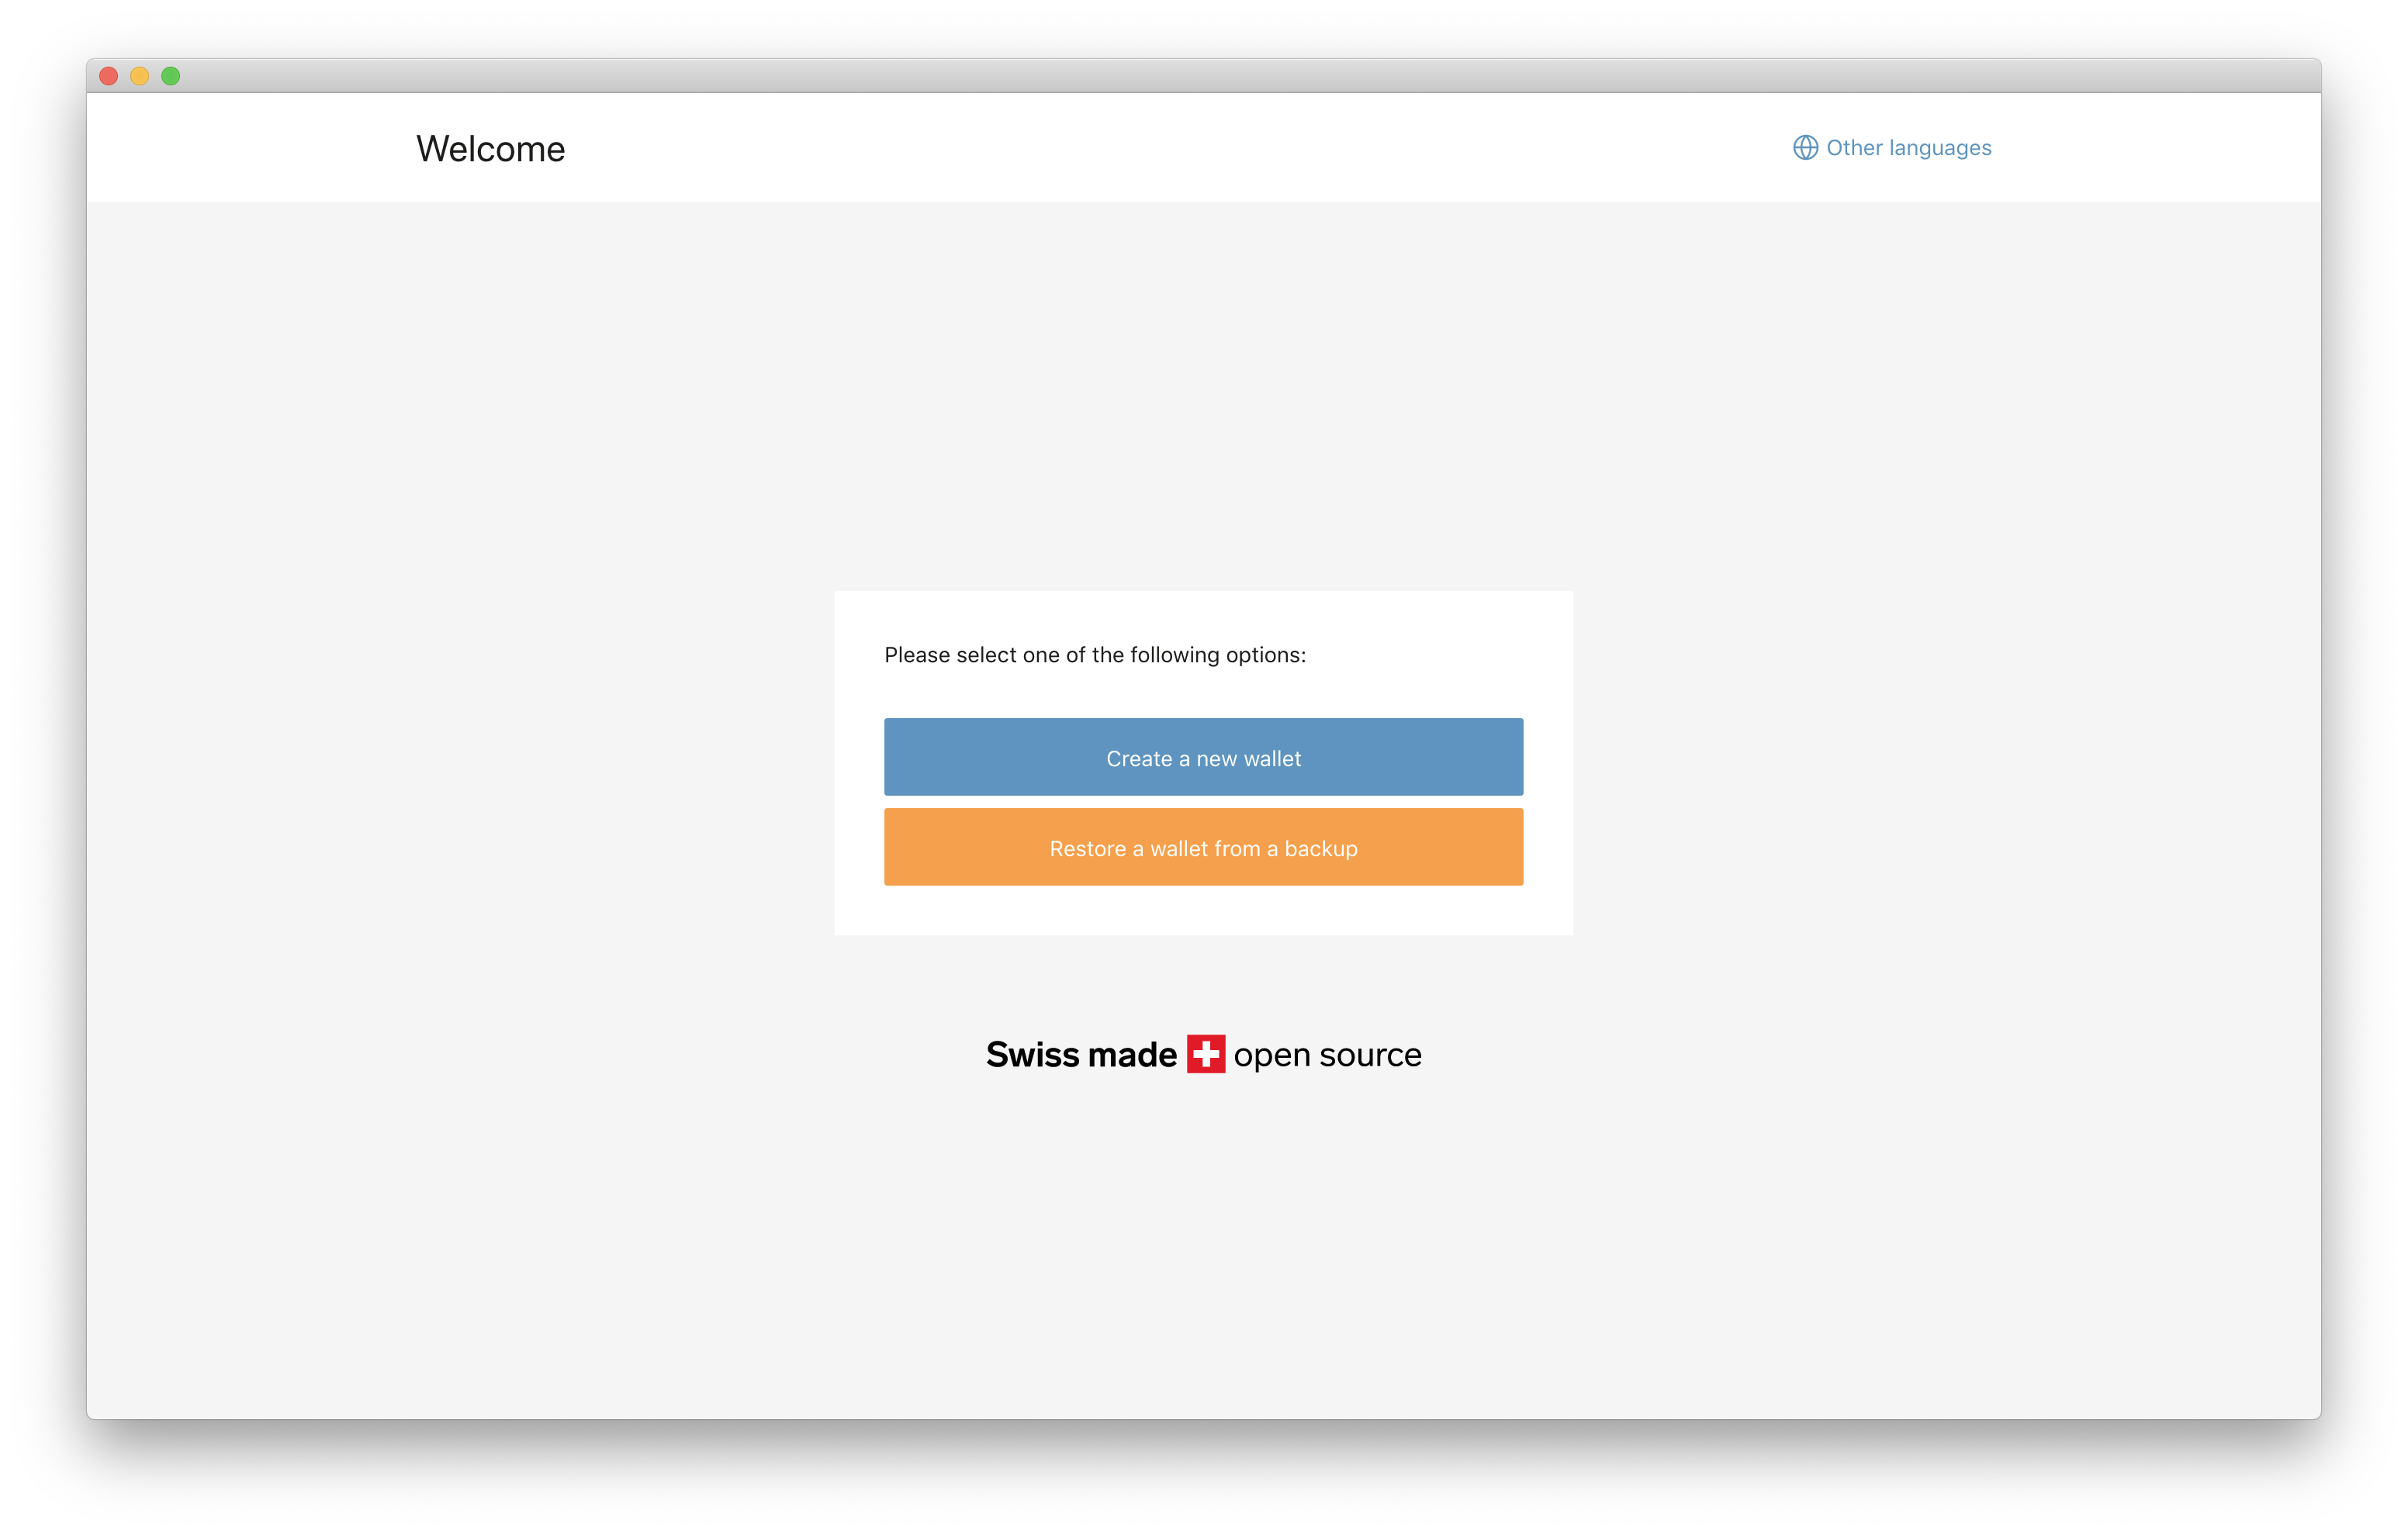
Now you are asked to choose if you want to create a new wallet or restores an existing wallet.
If you already used a BitBox01 before and you want to restore your wallet from your backup, choose “Restore a wallet from a backup” and follow this guide.
If this is the first time you create a wallet, choose “Create a new wallet” and continue with this guide.
Step 2: Understand the BitBox01 passwords
The BitBox01 makes use of two passwords:
- A device password that you need whenever you want to use your BitBox01. This password can be changed later.
- A recovery password that protects your backup. This password can NOT be changed later.
Important: If you lose your BitBox01 you will need your backup microSD card AND the recovery password in order to restore your wallet. Just the backup microSD card is not enough.
Therefore please ensure that you keep your recovery password and backup microSD card safe and accessible. 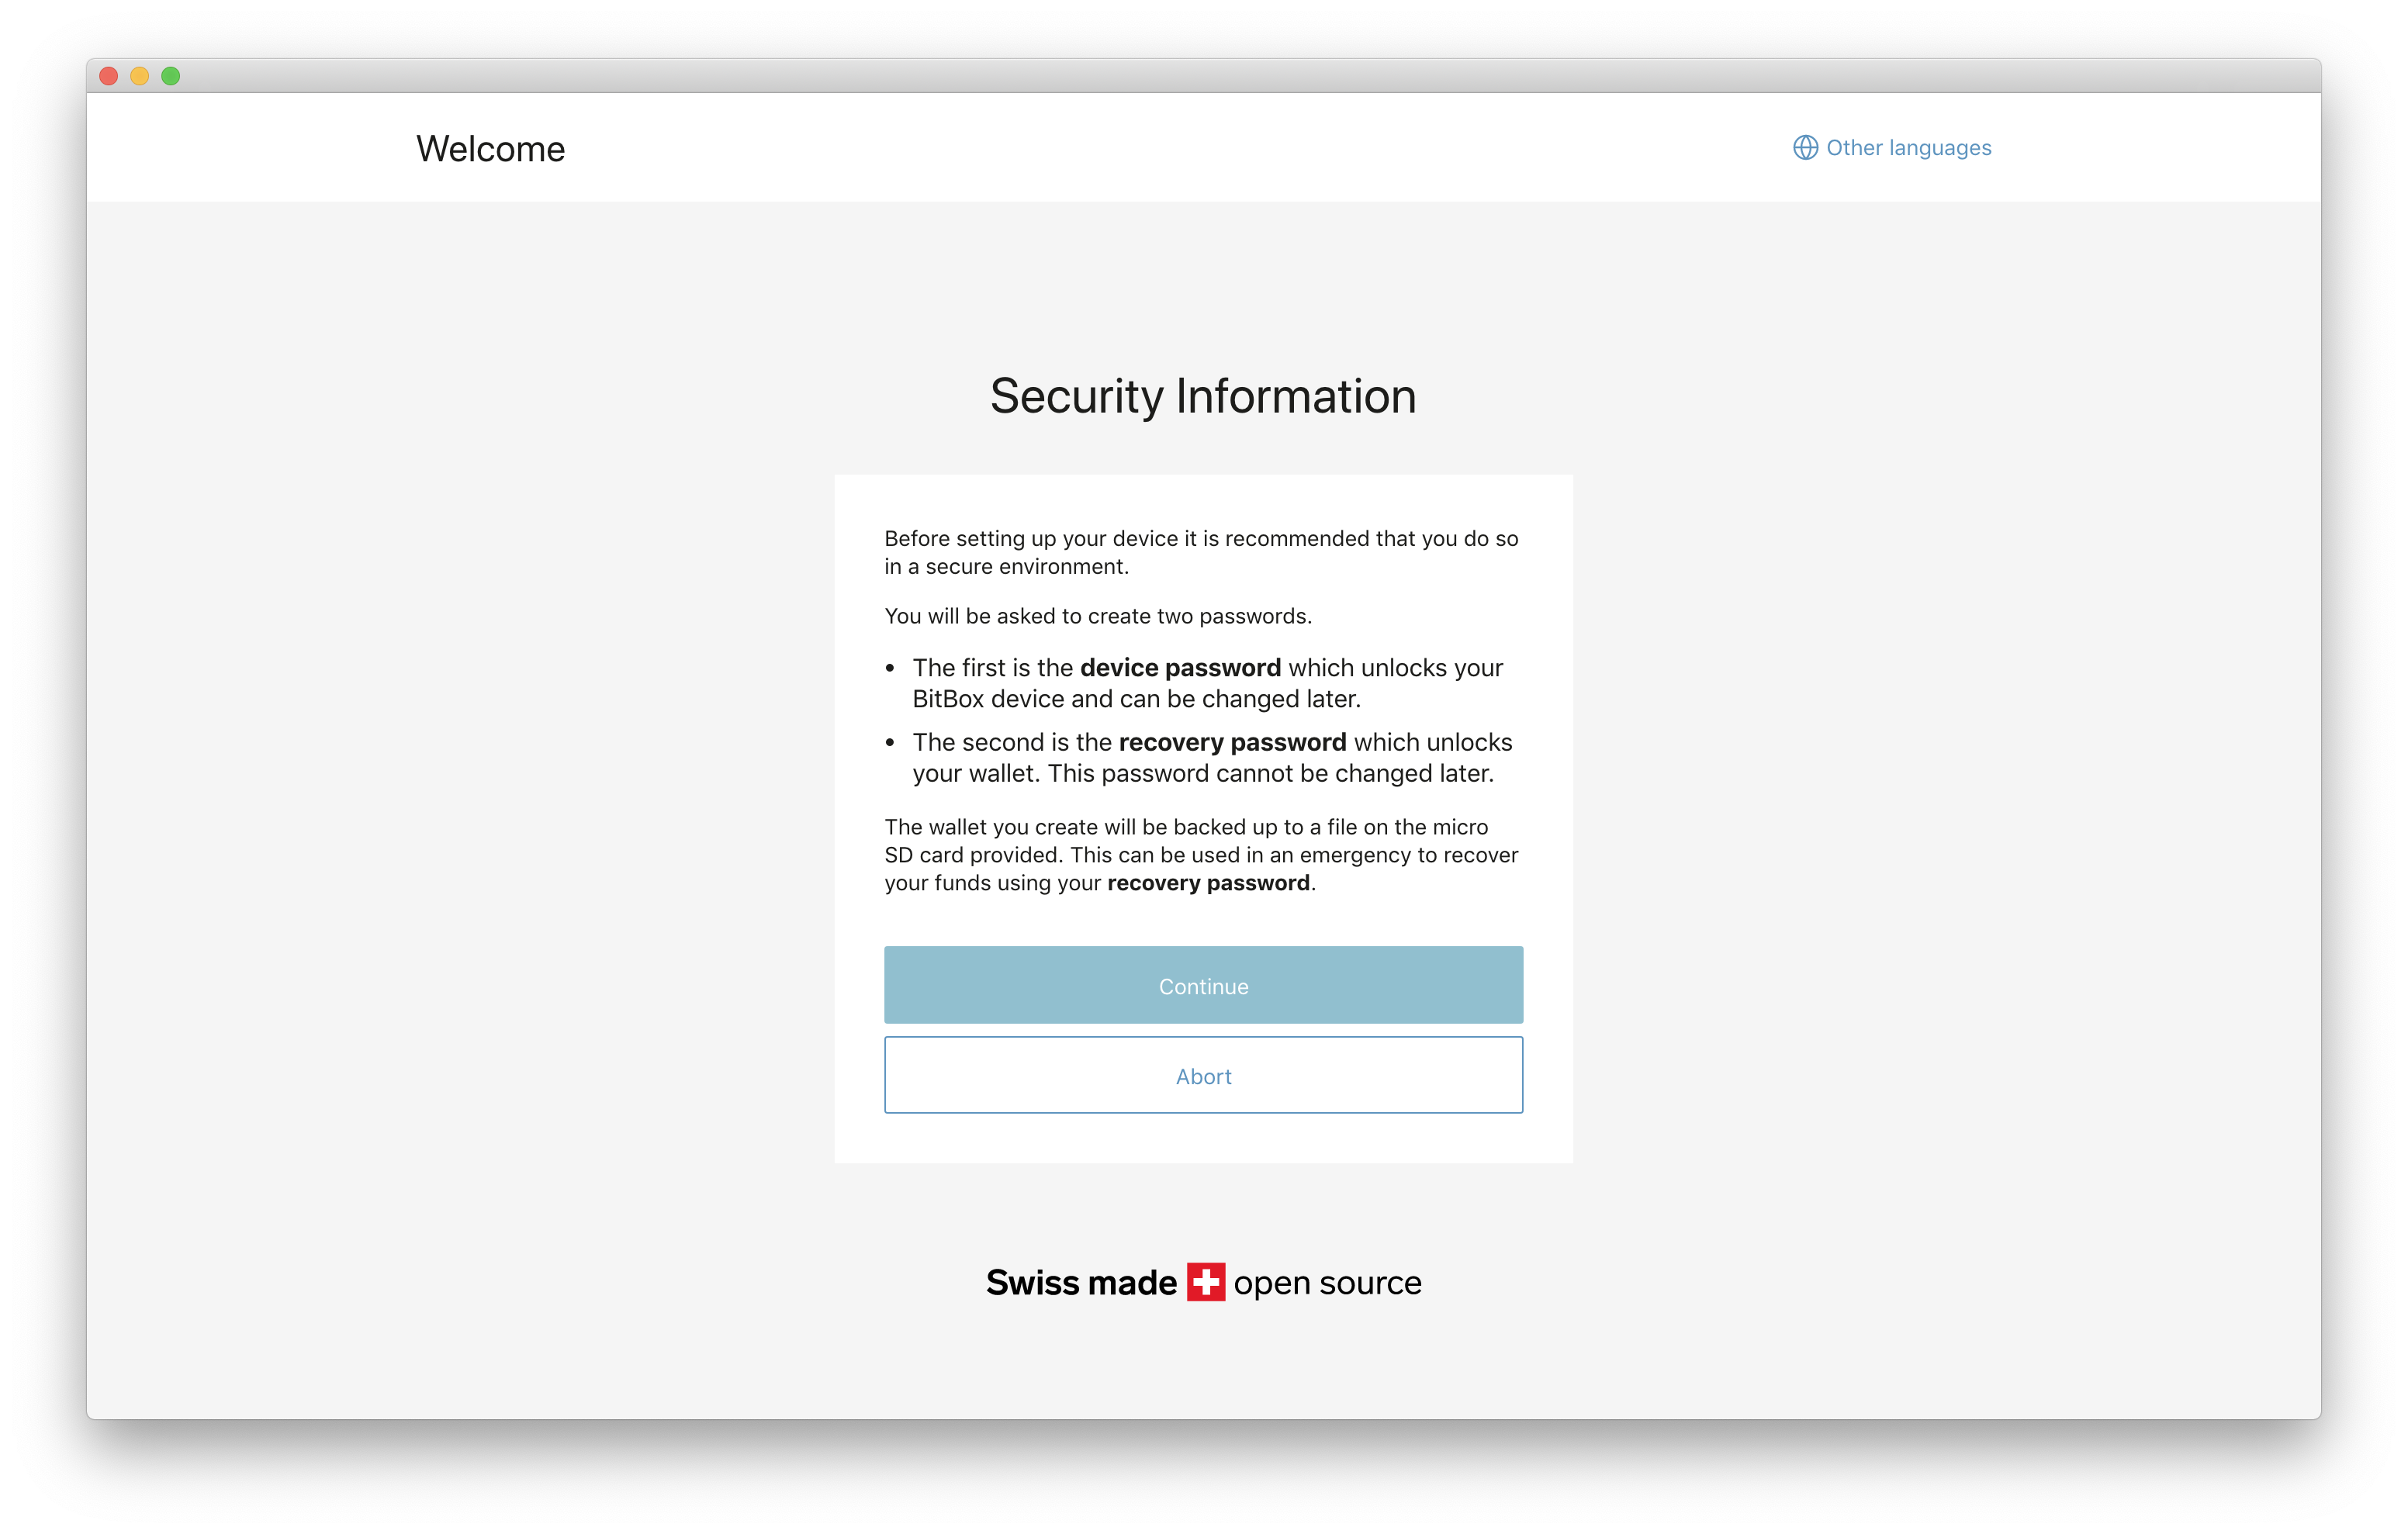
Step 3: Start the setup process
Read the information and click “Continue” 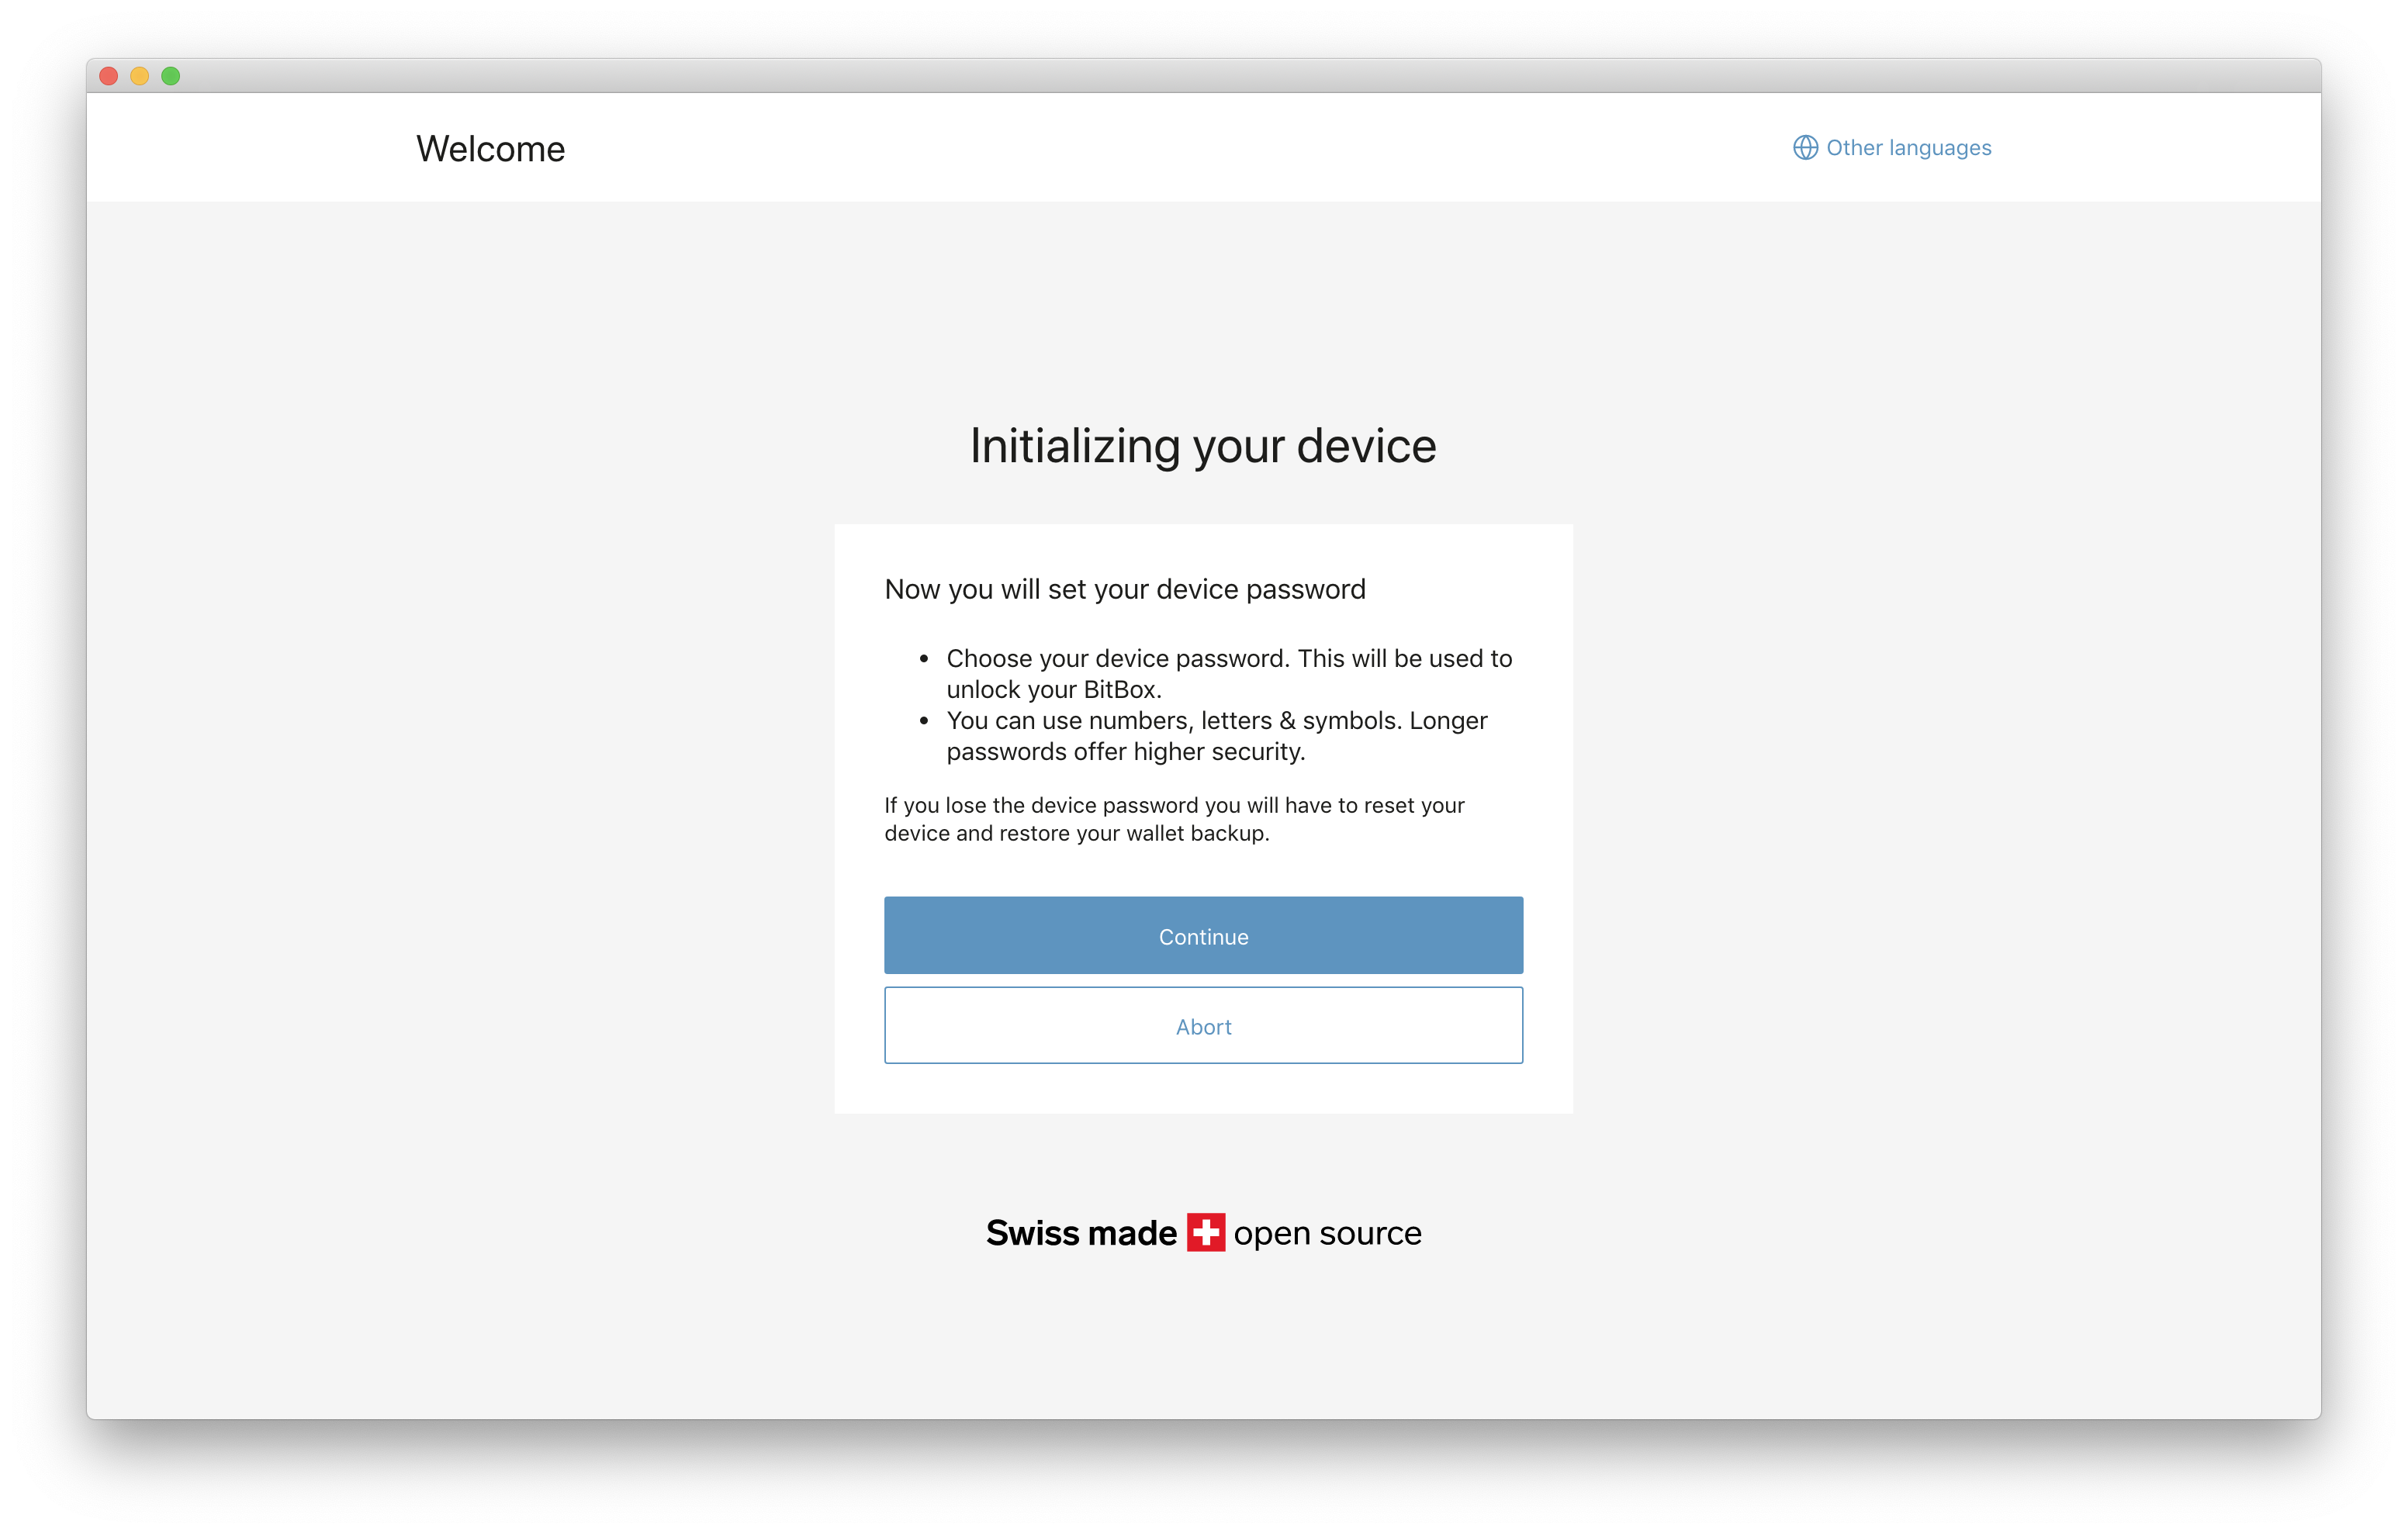
Step 4: Set device password
Now please set and confirm your device password. This password is needed whenever you want to use your BitBox01. It can be changed later.
Click “Set device password” 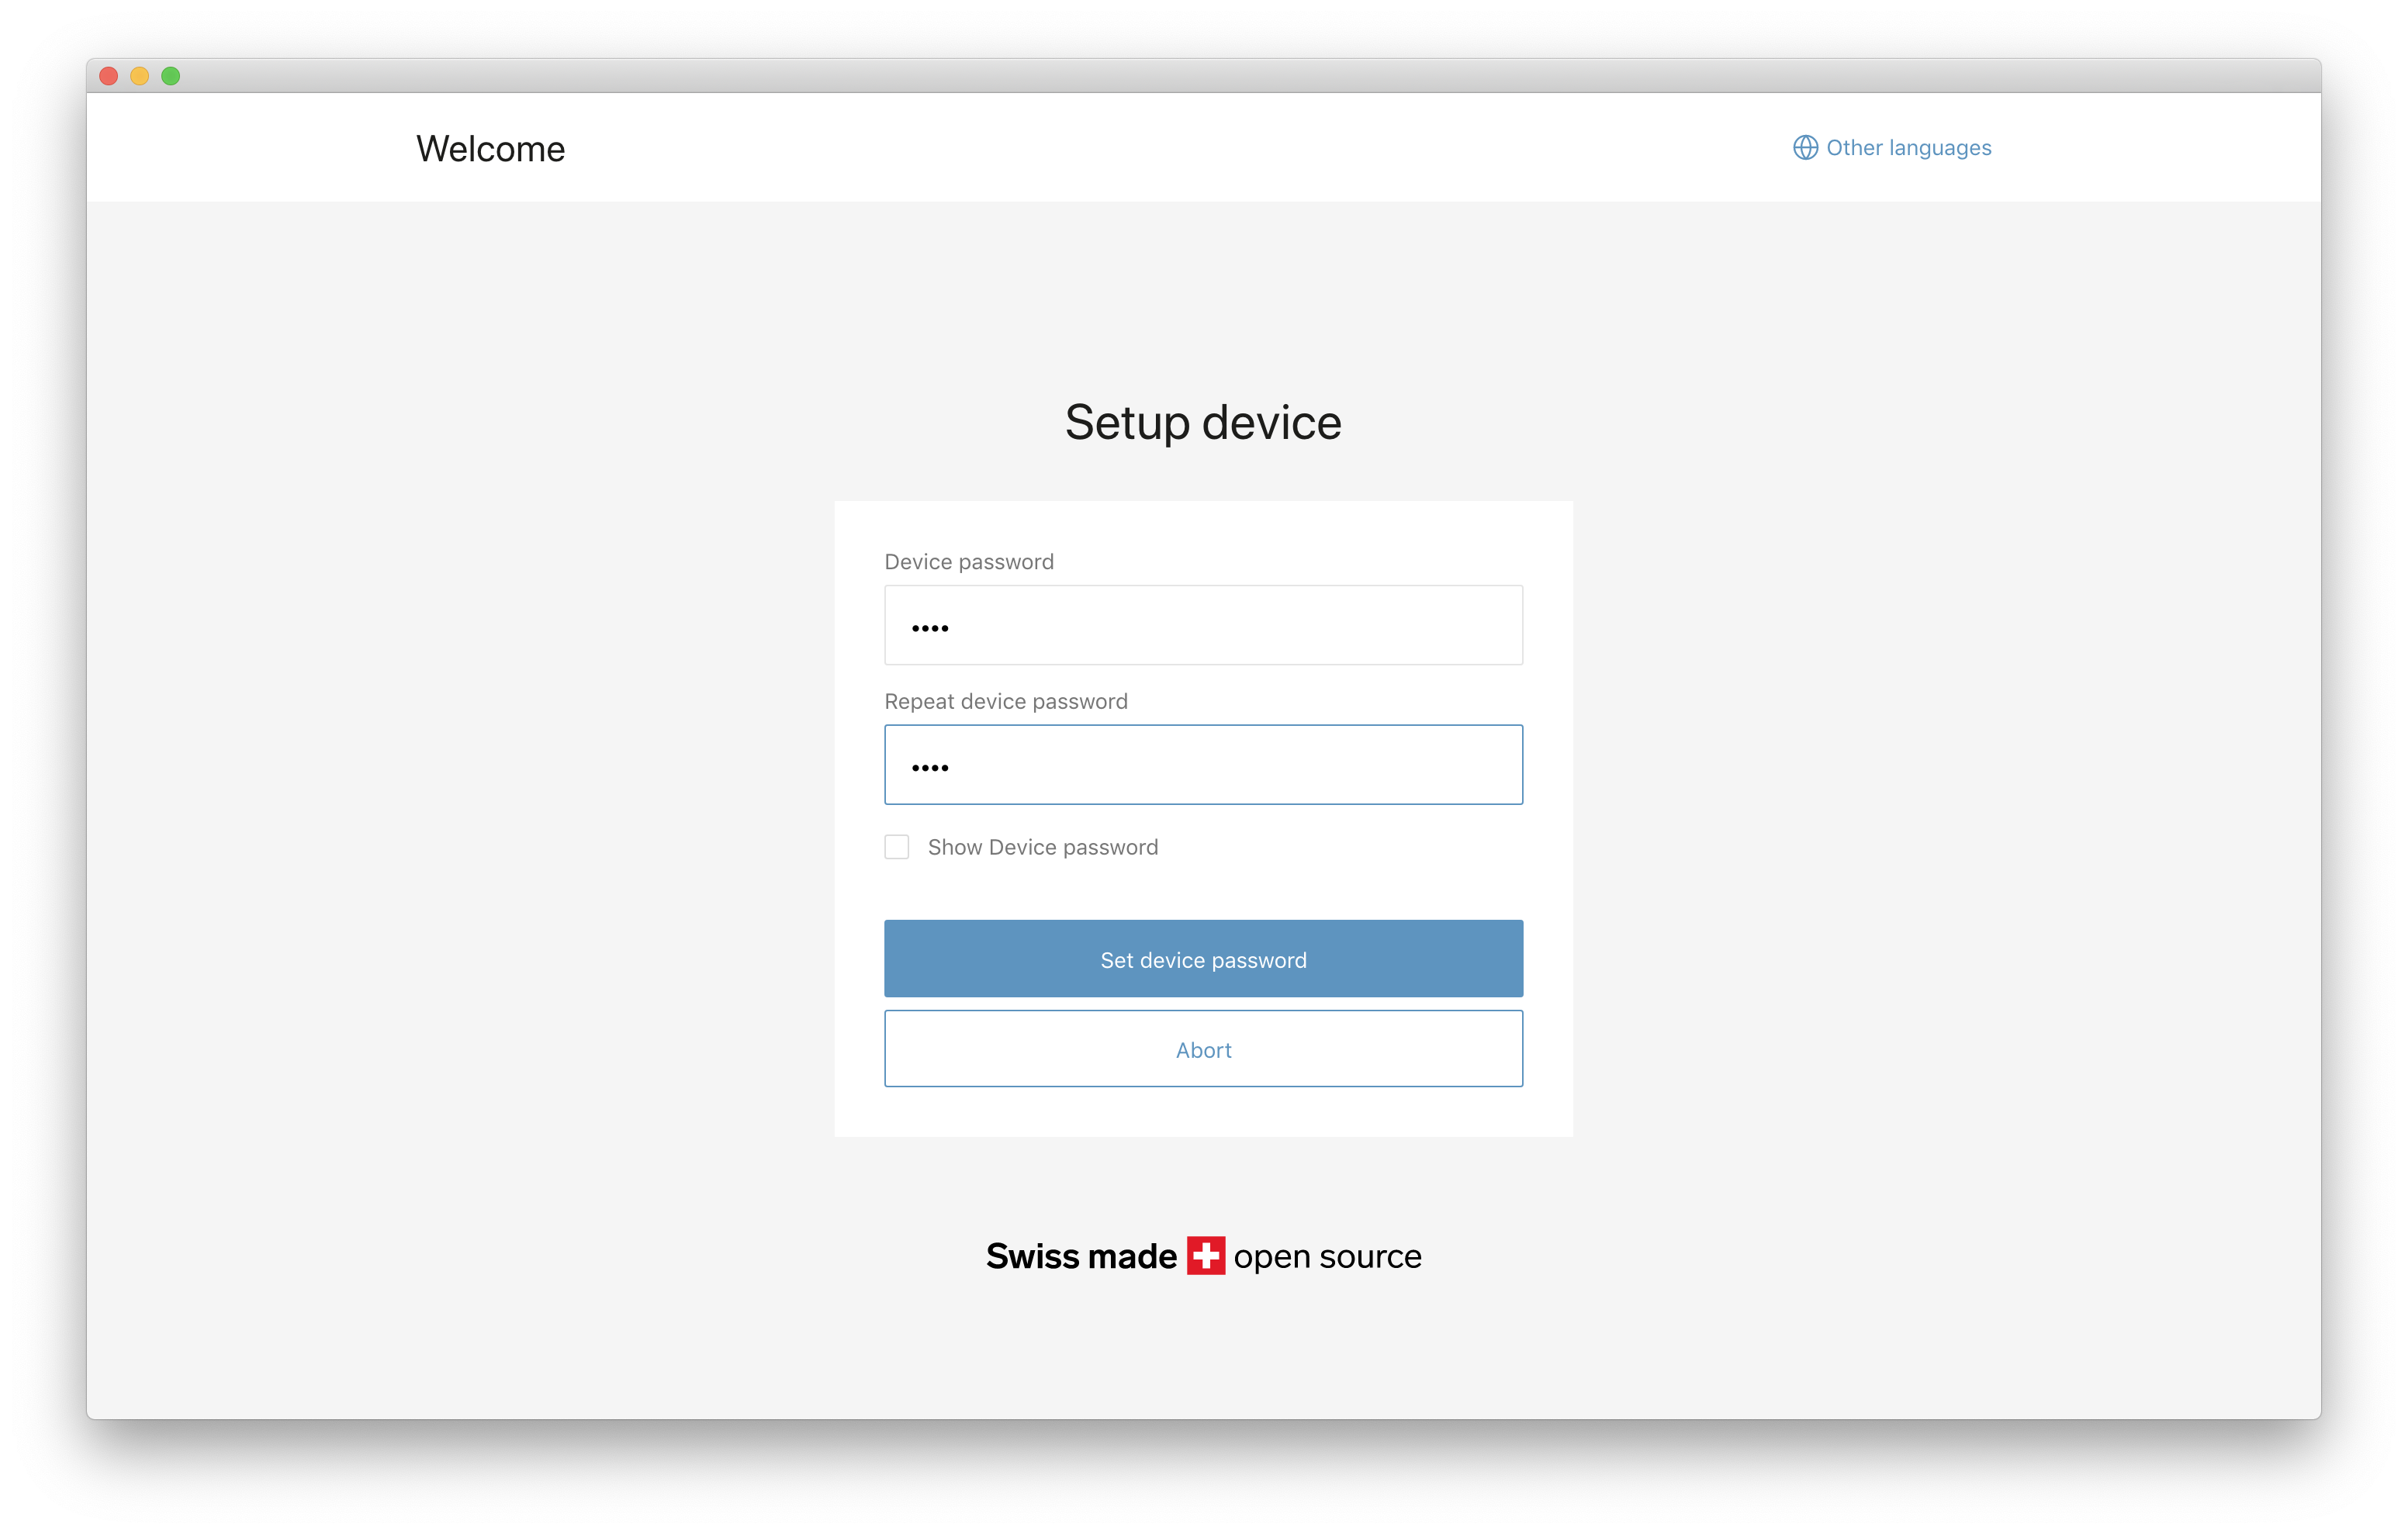
Step 5: Create wallet and microSD card backup
Next your wallet will be created. For that your microSD card needs to be inserted, so that the backup file can be saved on it.
If your have not yet inserted a microSD card into your BitBox01, please do so now and click “Set recovery password now”. 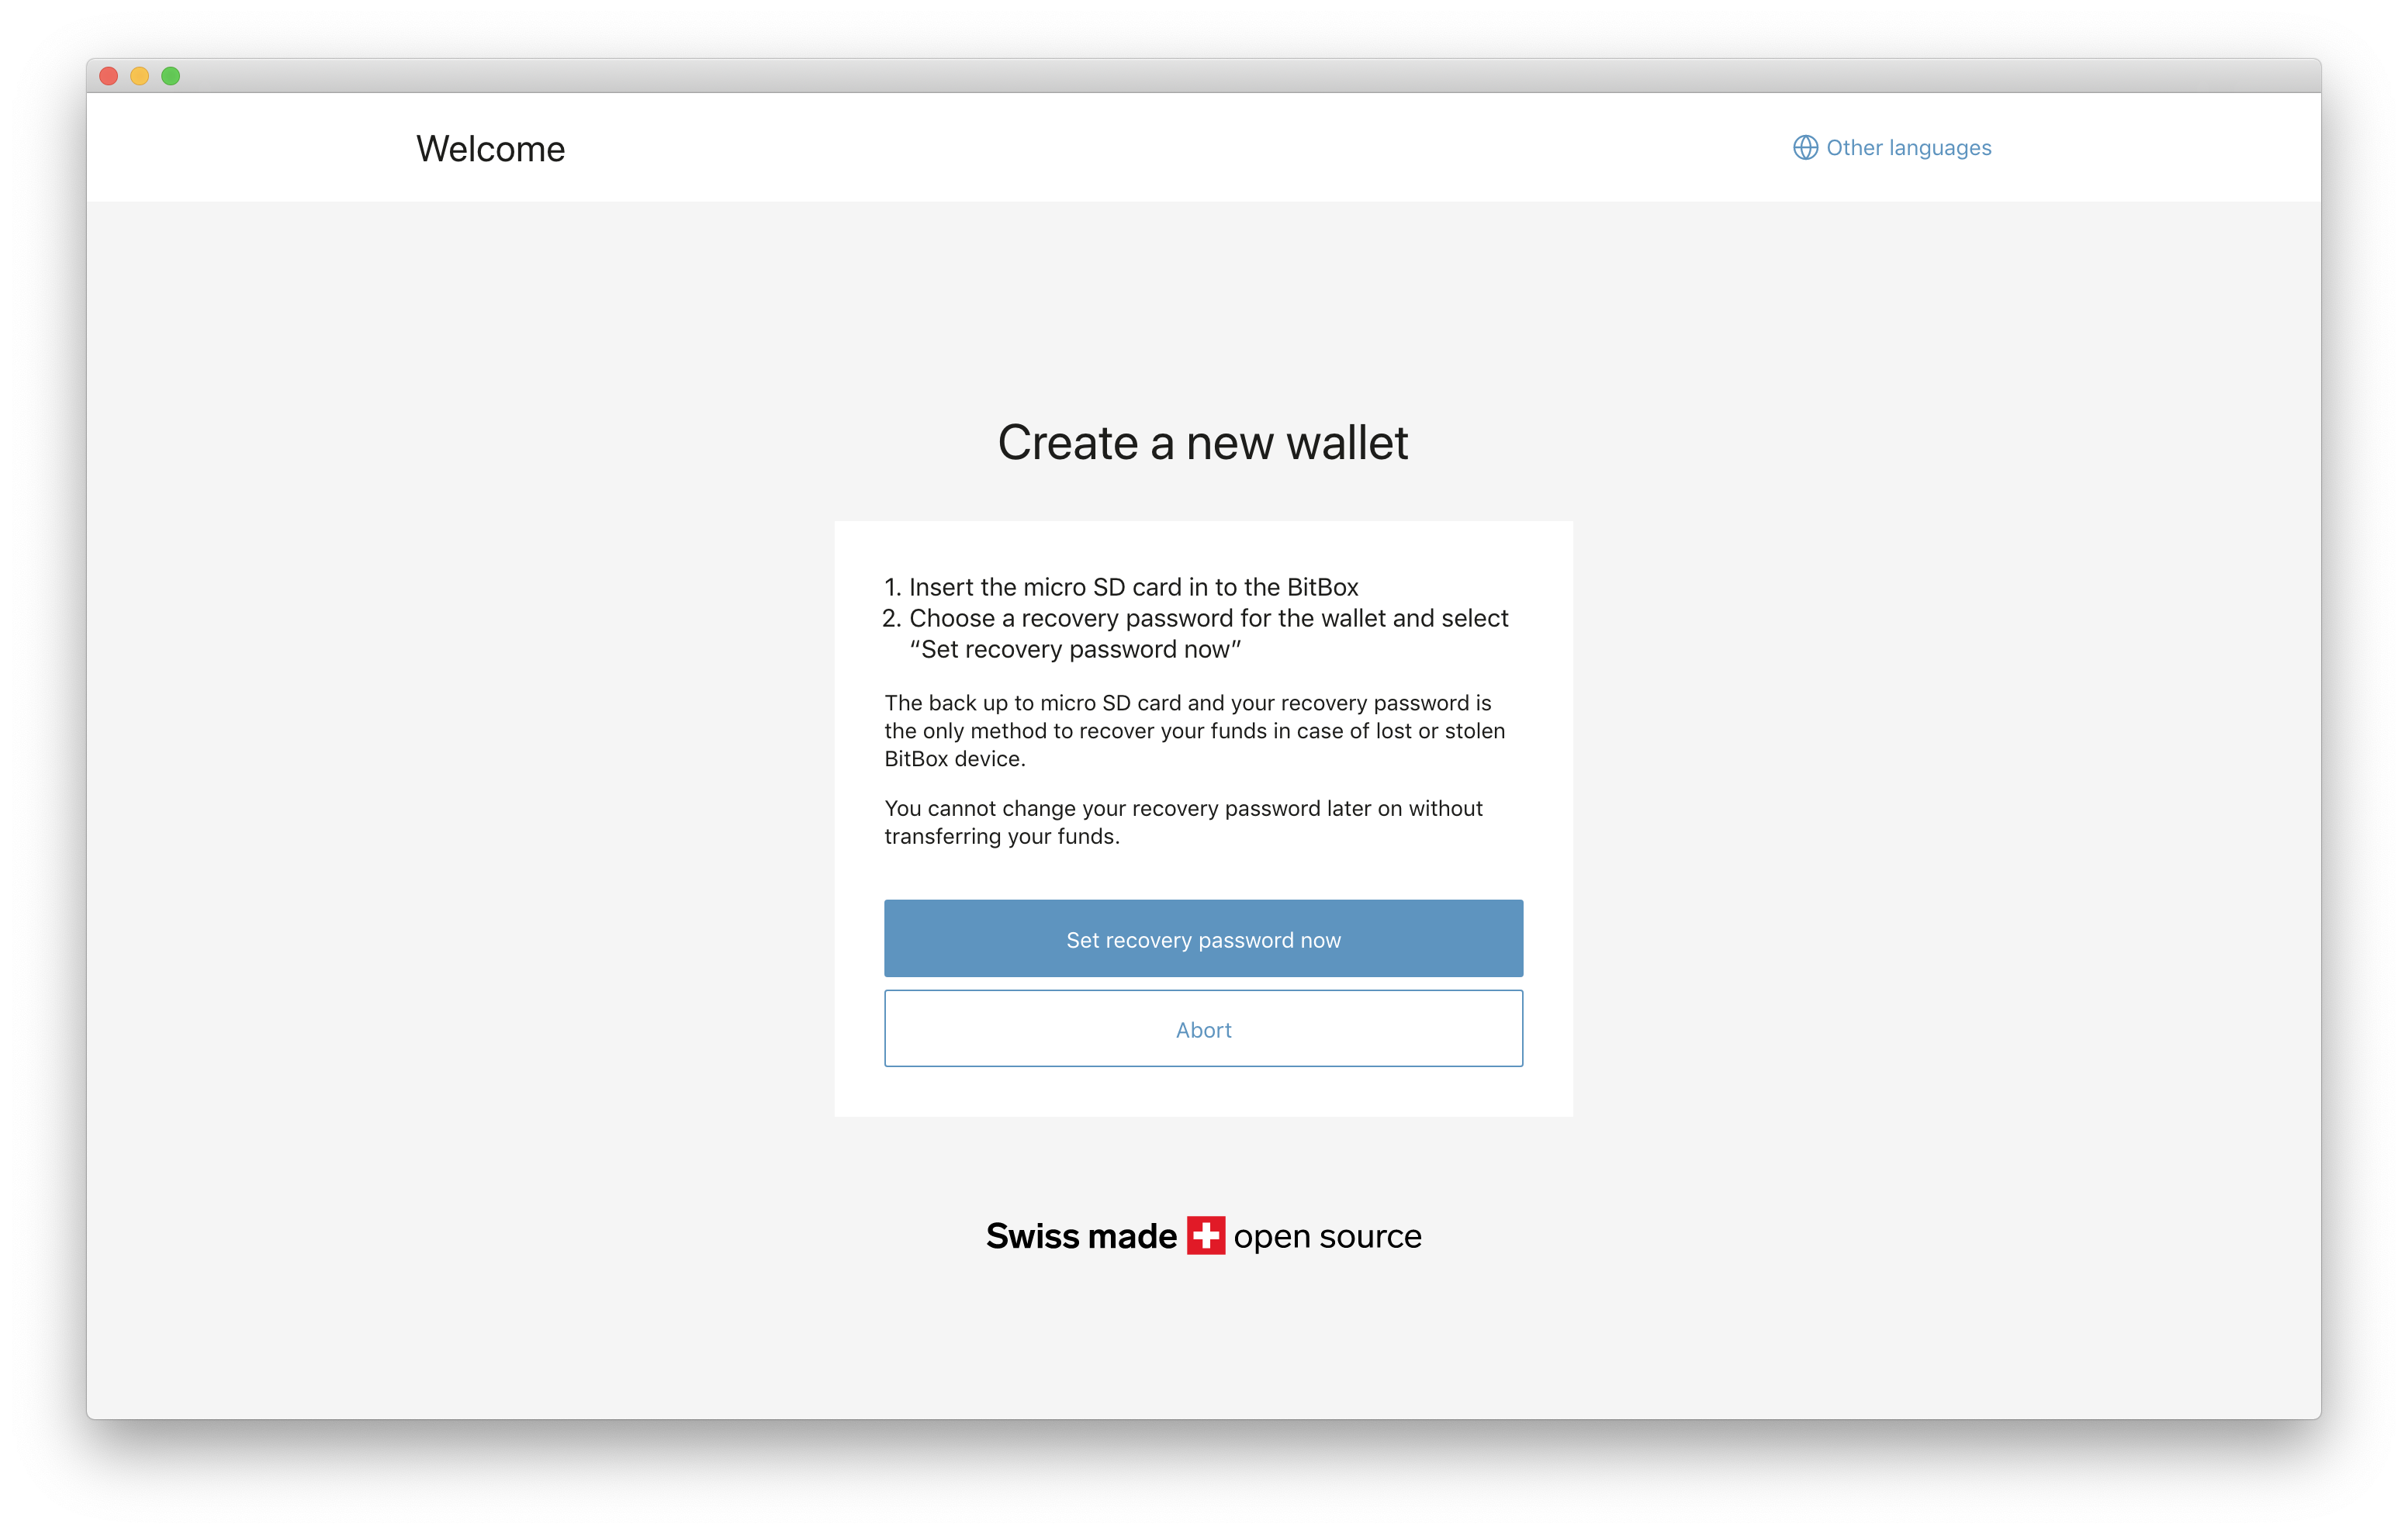
Step 6: Set recovery password
In this step you will set the recovery password that protects your wallet backup on the microSD card.
This password can NOT be changed later.
Important: If you lose your BitBox01 you will need your backup microSD card AND the recovery password in order to restore your wallet. Just the backup microSD card is not enough.
Please also give your wallet a name that you can remember. 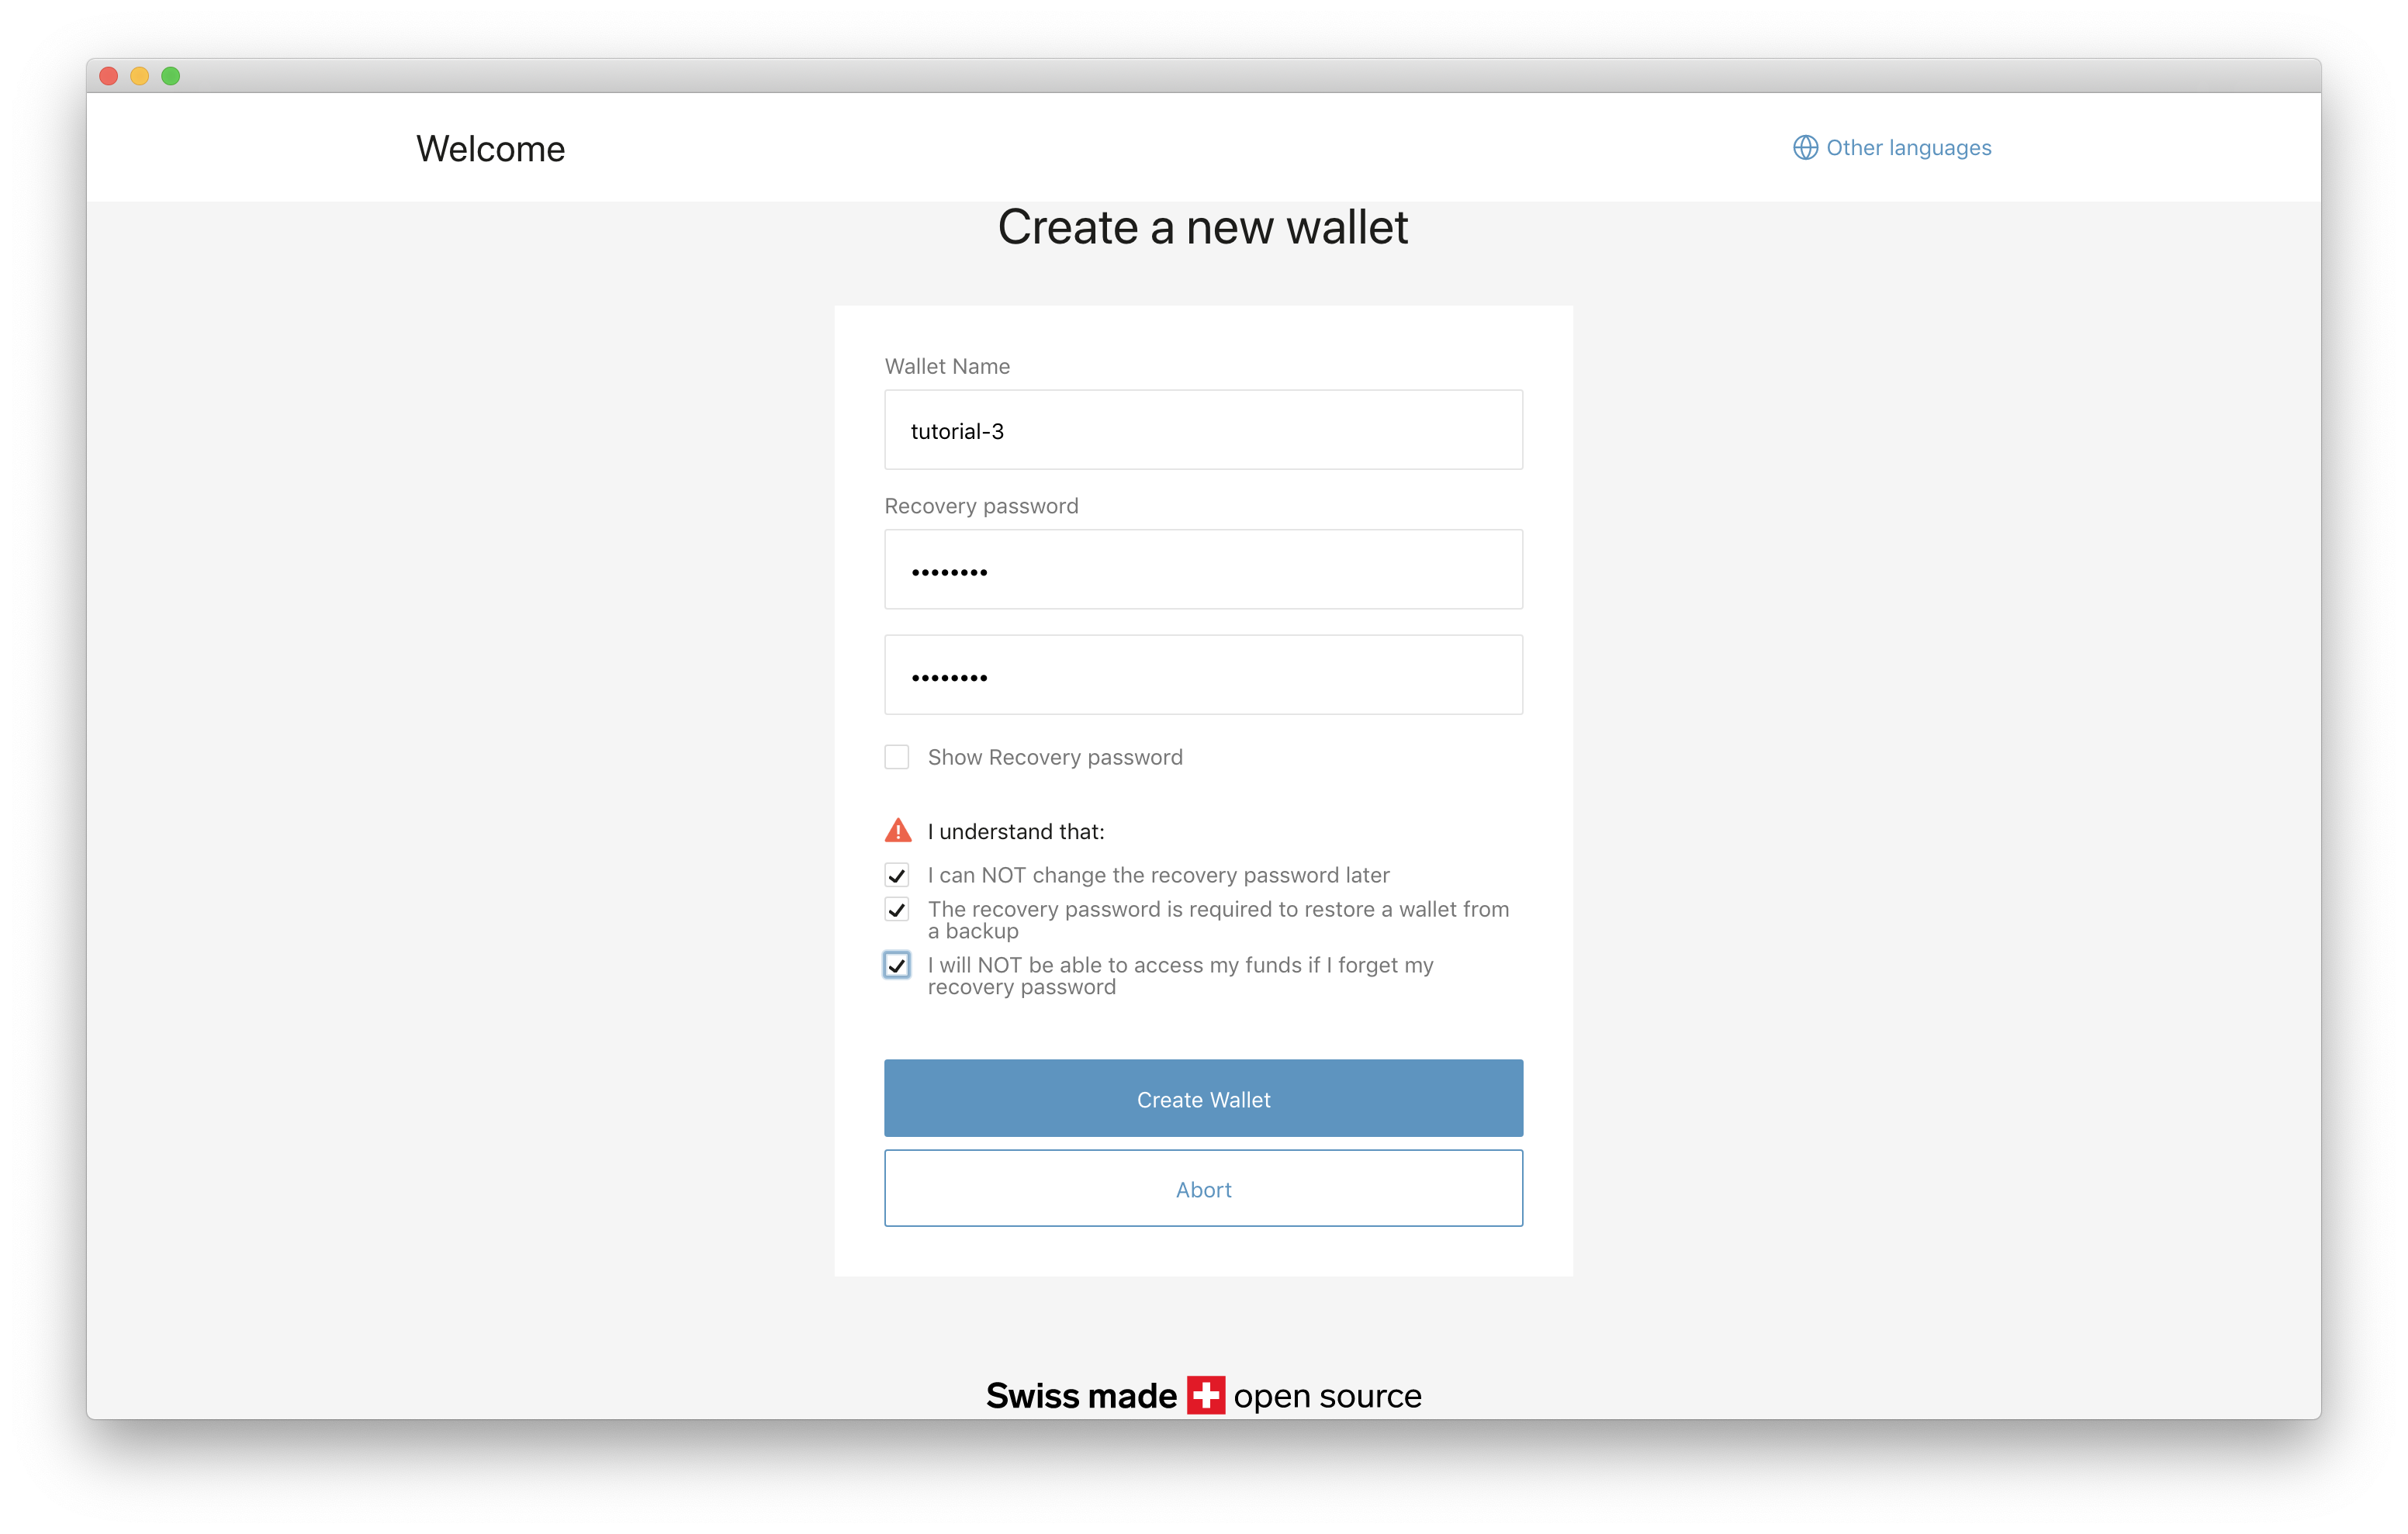
Step 7: Start stacking sats
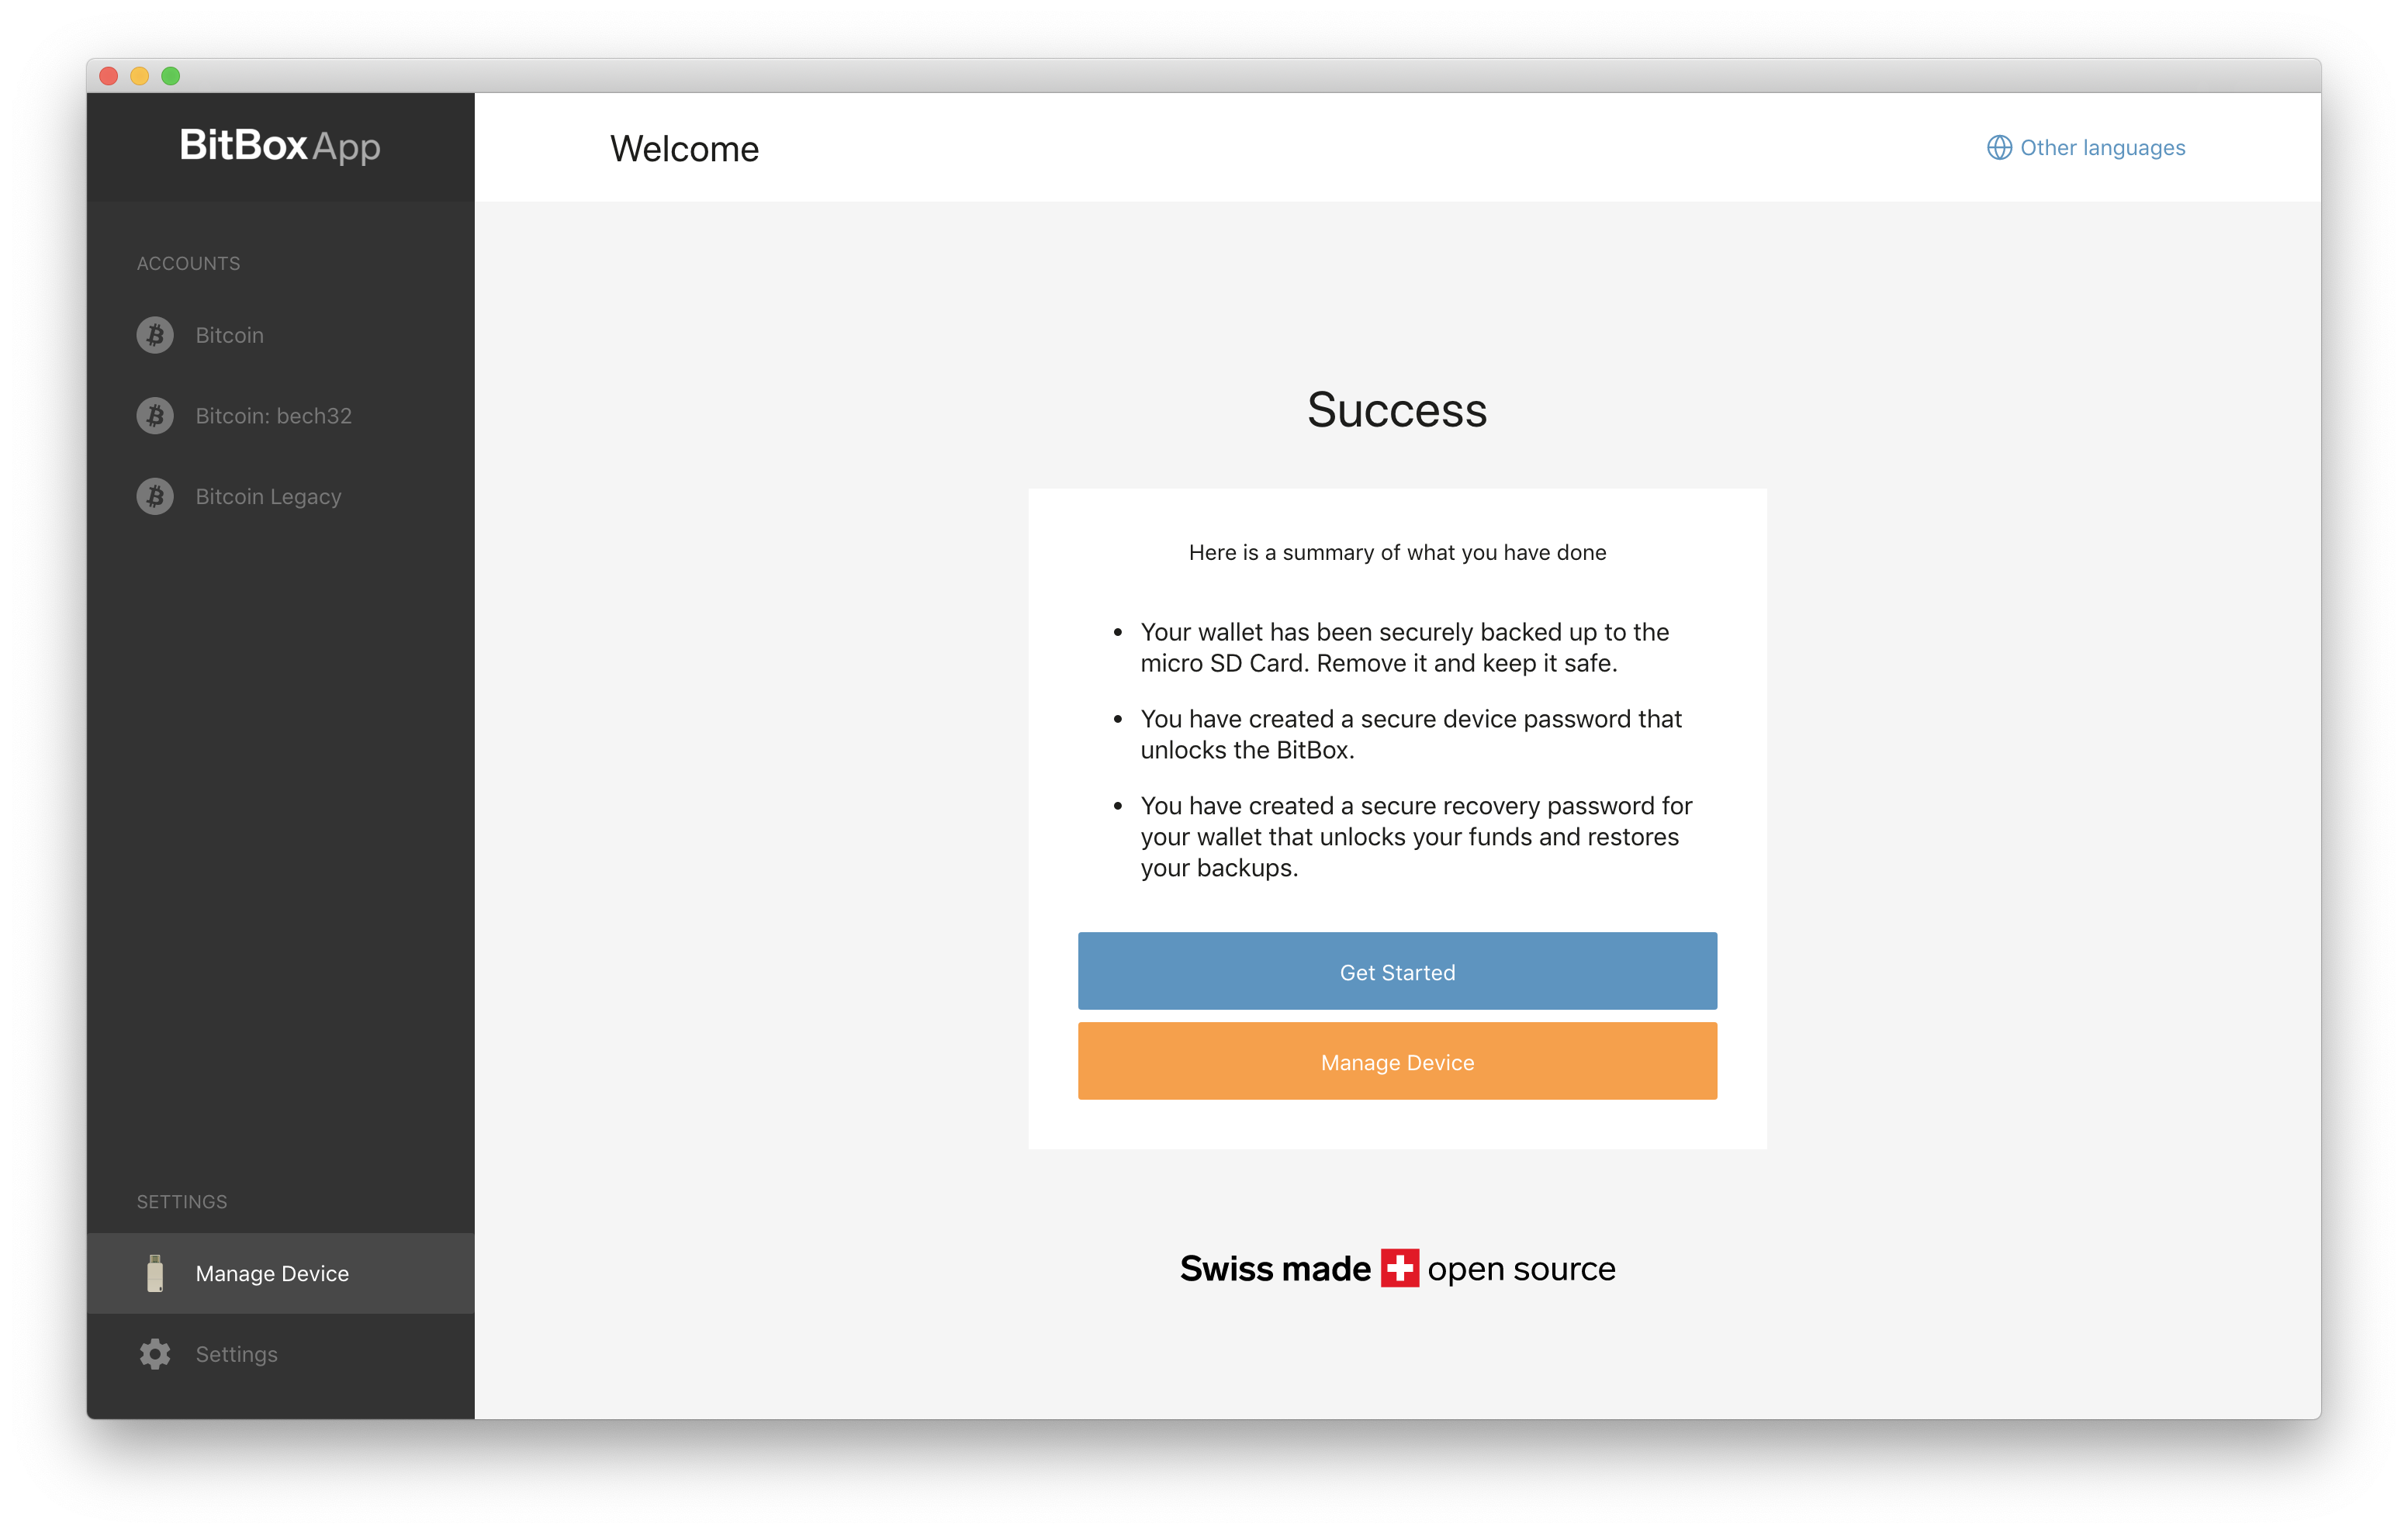
Great! Your BitBox01 is ready to use. Please make sure that you store your microSD backup in a secure location.
The microSD card is not needed to use your BitBox01 in normal use. It is only needed when you want to restore your wallet from your microSD backup. Please store your microSD card in a secure location.
Since Nov 2019 we stopped selling the BitBox01. Customer and in-app support will continue for the foreseeable future, but we advise BitBox01 owners to move their funds to a different hardware wallet such as the BitBox02. For more information see here
